NEEDLEWORK
Author's wooden panel with their own hands - master class
If your interior lacks colors, you can make an unusual decor with your own hands. Designer Anastasia Kasparyan will show you how you can create an interesting decor of a wooden surface using an ordinary photo printed on a printer.
For work we need: a drawing printed on a laser printer, a hair dryer, a transfer glue, brushes, a sponge, an adhesive tape, a wooden base.

At first choose an imagethat we want to put on the board. Please note: in order for it to be transferred without flaws, the photo must be printed on a laser printer.
We mark the future panel on a wooden base and frame it with masking tape so that the glue does not spread around the edges.


Next, with a special glue for transferring images to wood (transfer glue), we thickly smear the surface of the board, and also saturate the image on the side where the drawing is printed, and carefully and evenly glue the image onto the wooden base.

We remove air, smooth and press the image with a regular construction roller. Then we dry it with a hairdryer so that the glue "seizes".


Next, we need to wet the paper abundantly. For this we use a paint brush and water.

Then, with a sponge for washing dishes, we begin to carefully remove the paper in a circular motion. Our image is completely transferred!

To make the image brighter, apply a layer of clear acrylic varnish and let it dry.

As a basis, you can use any flat wooden base and decorate the kitchen facade, table, or simply create author's panels that will become a unique decoration for your home or an excellent gift for your family.
Tell friends:
Comments and Reviews
Add a comment


Rating news
Shades of clothing that make women look younger
What shades of hair make women younger: rules and photos
Funny wedding dresses - photos and ideas
12 most expensive down jackets for the winter
How to look 25 at 40: tips from supermodels
Beautiful schoolgirls
Anti-aging haircuts and hairstyles for women
Fashionable skirts for autumn and winter
Fashionable women's trousers for the cold season
Fashionable and stylish sandals for summer 2020
Spring-summer 2021
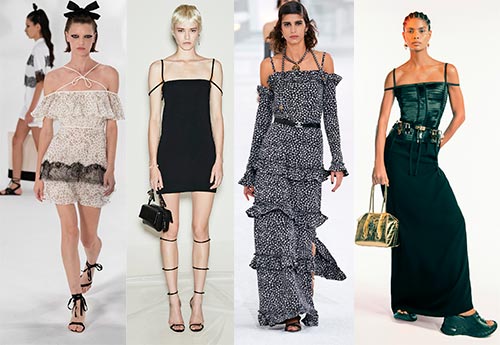 Fashionable dresses and tops with thin spaghetti straps
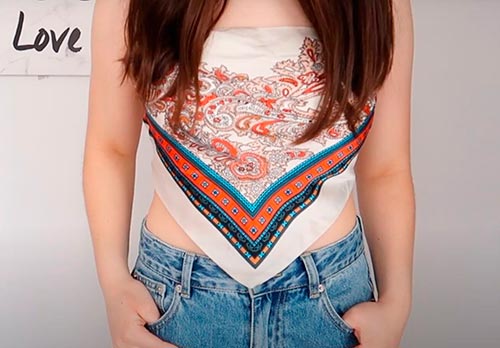 Bandana tops: how to wear stylishly and beautifully
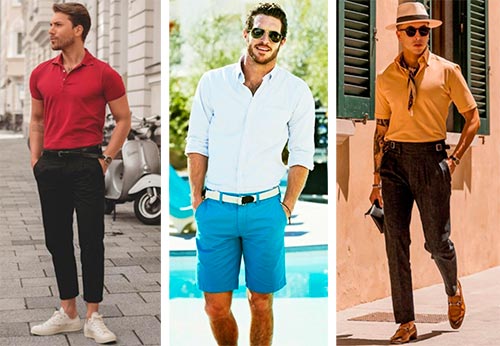 How to put together the perfect men's wardrobe for the summer
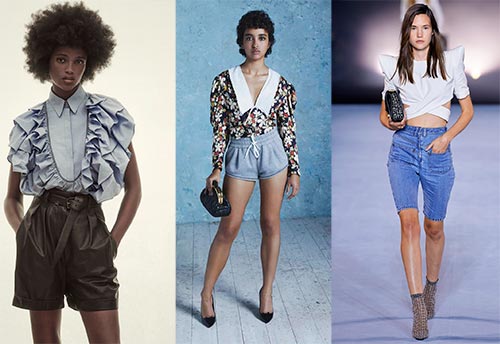 Fashionable shorts for spring-summer 2021
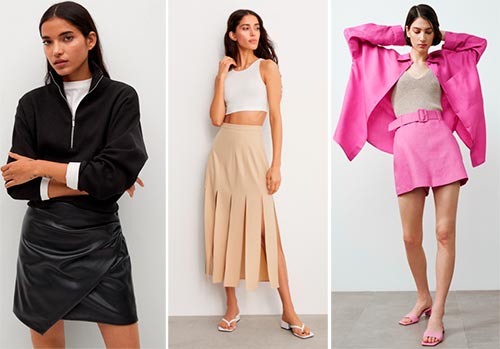 Fashionable skirts for spring-summer 2021: a guide to online shopping
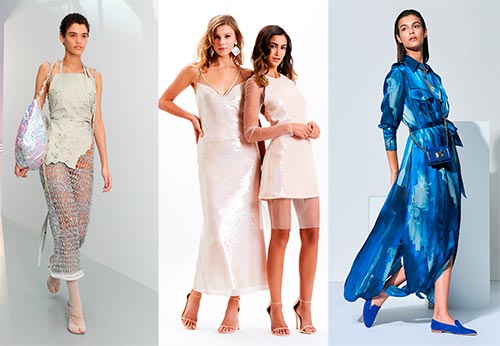 The most fashionable dresses spring-summer 2021: styles and colors
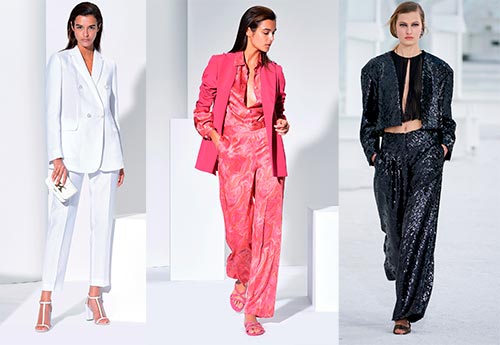 Fashionable total look 2021: ideas of images and trends